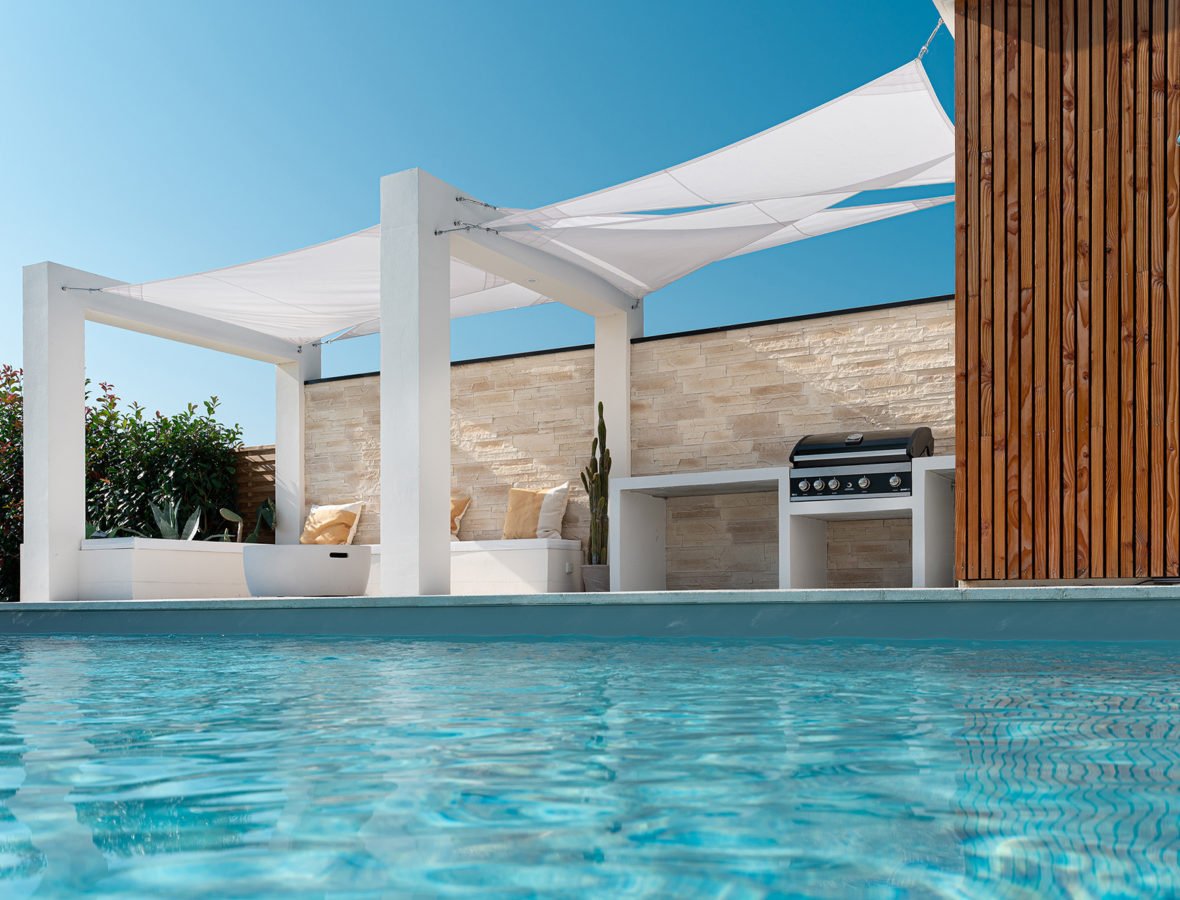
ORSOL facings can be installed both indoors and outdoors. Some substrates require preparation before installation.
Installing siding yourself may seem daunting, but it's a task that's doable for most amateur do-it-yourselfers. All you need to do is be well prepared, with the right products and tools, and follow our installation tips.
ORSOL claddings are designed to be easy to install. Below you'll find the generic installation steps for all collections. On the other hand, certain collections and certain installation supports require additional steps. Please refer to the technical data sheet for the collection to be installed.
Quelques conseils techniques lors de vos travaux
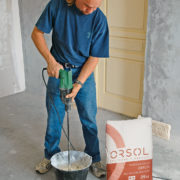
Preparing and laying mortar
Prepare the mortar according to the instructions on the bags. Apply ORFLEX HAUTE PERFORMANCE adhesive mortar to the substrate using a trowel. Butter the entire back of the facings, applying a coat 1 to 2 mm thick.
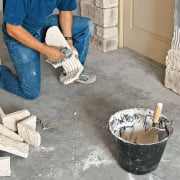
Fitting accessories
Corners must be installed before facing. Glue the corners from bottom to top, swapping short and long sides from one row to the next. Lintels must be installed after corner chains.

Siding installation
Lay your facing from bottom to top on the fresh grooves and press firmly to ensure good transfer and expel air. Open several packs to create the most random layout possible.

Joint
Carry out grouting (in the case of jointed siding) 24 hours after installation, filling the joints with a grouting mortar.

Filling the gaps
Fill the gaps between each stone.

Brushing joints
When the joint starts to pull, brush it with a soft steel brush and finish with a quack brush.
10-year warranty
ORSOL products are guaranteed for 10 years. This warranty applies to the products and not to their installation, subject to the use of ORSOL substrate preparation and installation products and compliance with ORSOL recommendations, which can be found in the IDEAPOSE technical data sheets and collection technical data sheets.
To find out which products to use on my site according to ORSOL recommendations
Use our project simulator to find out all the substrate preparation and installation products you need to use to comply with ORSOL recommendations for your chosen collection and installation substrate.
If you have any doubts about the support, or if you don’t know it, check the “I don’t know” box. An additional form will enable us to get in touch with you to define your site and propose a solution adapted to your needs.
ORSOL gate pillars are decorative elements, not structural elements. Only the concrete filling inside the pillar elements will bear the weight of the gate.
Quelques conseils techniques lors de vos travaux
A solid foundation
Create a foundation reinforced with twisted irons.
Fitting the bushel
Position the cribs with the interlocking lip facing upwards, checking that the pillars are correctly aligned and applying a seal of polyurethane mastic between each crib.
Interior protective film
Place a film of polyethylene foam (supplied in the kits) inside the bushels over the full height of the pillar.
Filling
Fill the pillar with concrete at a rate of 1 ml / 24 hours. Level the surface at the last bushel.
Gluing the bonnet
Glue the cap in place after the concrete filler has dried.
Drilling
To secure the gate, use a hole saw and concrete drill bits. No percussion drill. Drill the concrete filler.
Dowel fixing
Fix the dowels in the concrete filler with chemical sealant.
Protection
Spray waterproofing on all pillars for better protection.

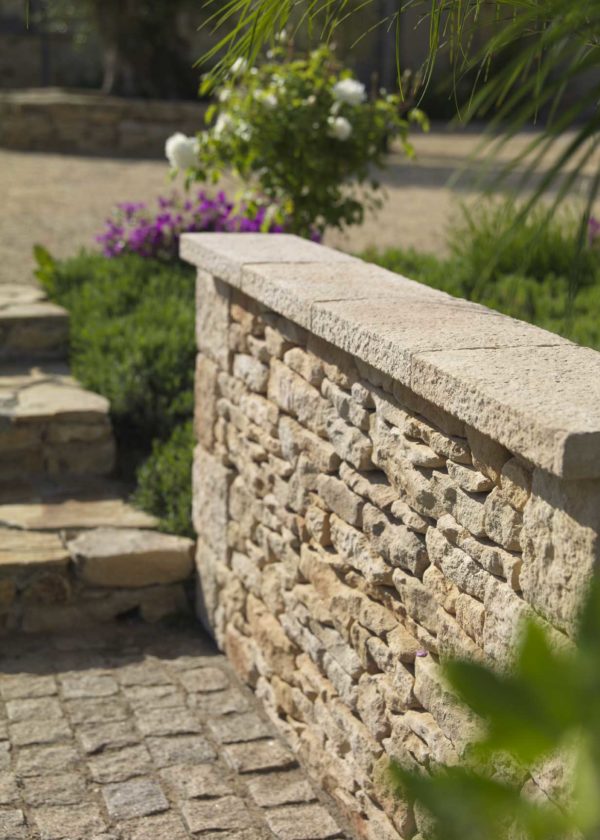
Wall caps complete a low wall and are designed to protect it. Most of our wall caps are designed with a water droplet to prevent water run-off on your rendered or clad garden wall or low fence.
Quelques conseils techniques lors de vos travaux
Hat selection
Choose a wall cap that extends beyond your masonry.
A level wall
Wall caps are installed on level masonry. Make a concrete base to ensure that your low wall is flat.
Mix
Mix the hats.
Double gluing
Double-glue, driving out air and leaving a 5 mm gap between each cap.
Jointoyez
Grout the caps. The gasket provides a seal between the caps.
Maximum protection
Spray water repellent on all wall caps for better protection.

